
Marker Sketching....
.....simple to complex. My Marker Workshop is this coming Saturday so I thought I'd get the juices flowing a bit. There are two spots left if you can make it. We always have a blast. Don't worry about materials because for about $25 I can supply you with everything you need. Find out more at the Winslow Art Center HERE.
Whether you draw something simple or more intricate, the magic of quickly creating the illusion of form on a blank page still happens. In many ways the simpler forms are graphically more interesting plus much faster to create:
 |
| A simple form. |
For those of you too far away to attend the workshop and watch a demo, here is a re-creation of how I did the 'Volks' sketch:
 |
| Beginning lines. Got to start somewhere.... |
So how to begin? I look for the simplest and most easily drawn part I can find that can also serve as a visual 'measuring stick'. I didn't know how far to the right the roof line would go but was fairly confident about the vertical rear edge....so that came first.
 |
| The window fit itself in that space pretty well....but I looked carefully before committing to it. |
 |
| Rear wheel made it....whew. |
 |
| By lining things up vertically and horizontally with what I had down, the car could be finished. |
It made sense to complete the car before the background or front tree was drawn. Notice how I made several mistakes on the driver side of the windshield. I wasn't too concerned because it was fairly hidden behind the tree.
 |
| Completed drawing before adding the marker tones. |
Drawing complete. I couldn't get all the marker tones erased but you can get the idea.
Now for the markers. This is where magic happens. I can't show you the steps in adding the values but suffice to say that I use a 30% gray marker to separate all light struck areas from those in shadow (or dark). I go over everything with that 30%, leaving the white paper just where I want to maintain the lightest light struck areas.
So. There you go.
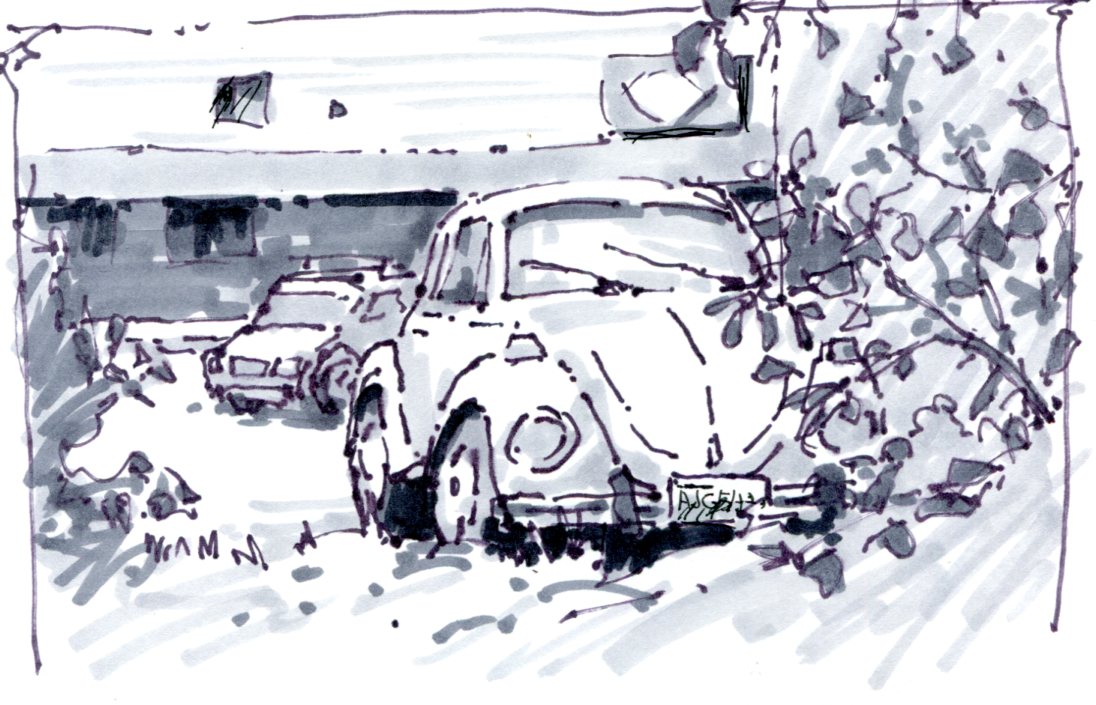 |
| Volks.....in situ. |
If you work in markers I'd love to see your drawings. Later this week I'll post some marker sketches of a friend that uses these tools in a different way.....and the drawings are beautiful.
No comments:
Post a Comment
Make a comment. I enjoy hearing what you have to say.